Paver blocks are concrete or stone blocks that are used to create paving. They are available in a variety of shapes, sizes and colours, and can be used to create patterns and designs. Paver blocks are typically laid on a bed of sand and then compacted with a plate compactor.
Paver block price

The cost of paver blocks is determined by a number of characteristics, including their thickness, size, and form. You have the option of buying it by the number of individual pieces or by the square foot. The pricing might begin at ₹15 per piece for a thickness of 60 mm or ₹30 per square foot for a thickness of 30 mm. This is the paver block rate currently in India.
How to make your own paving blocks
Have you ever wanted to pave your own driveway or patio? Making your own paving blocks is a great way to do it yourself and save money and invest that money. In this blog post, we’ll show you how to make your own paving blocks and then lay them to create a beautiful paved surface.

Making your own paving blocks
To make your own paving blocks, you’ll need the following materials:
-Concrete mix
-Mold (any size or shape)
-Trowel
-Water
The tools you’ll need
In addition to the materials listed above, you’ll need the following tools:
-Shovel
-Wheelbarrow (or similar container)
The process
Making your own paving blocks is a simple process:

1) Mix the concrete according to the manufacturer’s instructions.
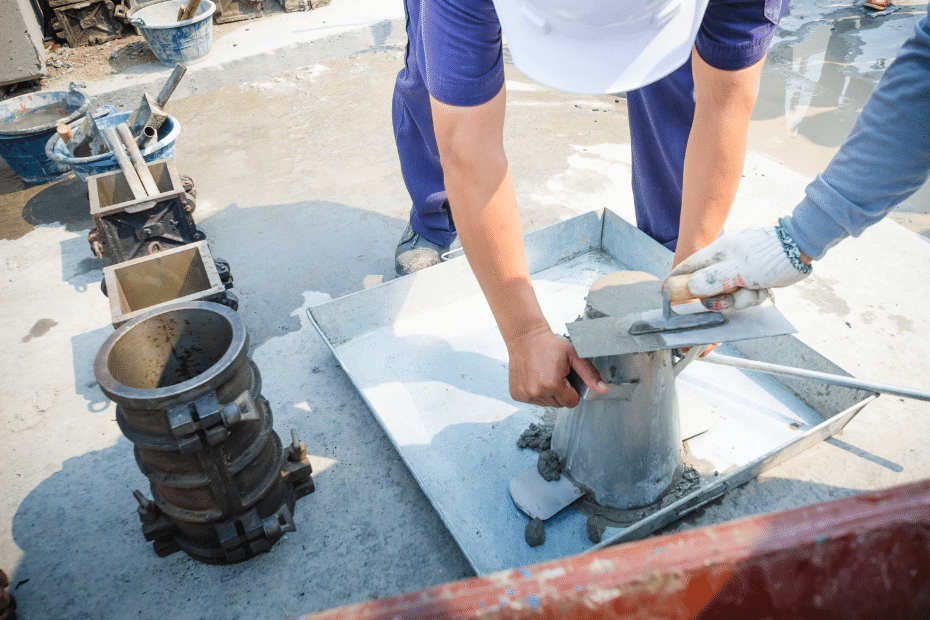
2) Pour the concrete into the mold, and smooth it out with the trowel.
3) Add water to the mixture if necessary.
4) Let the concrete set for 24 hours before removing it from the mold.
Paving your drive or patio with your new blocks
Before you begin paving your drive or patio with your new blocks, it is important to plan out your design. This will ensure that you have a cohesive and finished look. To start, decide on the dimensions of your paved area. Then, sketch out a rough design of the space, including where any curves or features will be placed. Once you have a basic idea of the layout, it is time to select your pavers. Choose pavers that are the right size, shape, and colour for your design.
Also see: 3D, Square and square paver block designs
Laying the blocks

Now that you have all of your materials and tools ready, it is time to start laying the blocks. Begin by preparing the base of your paved area. Remove any grass or other vegetation from the space and level off the ground. Next, add a layer of gravel to help with drainage and compaction. Then, use a tamper to compact the gravel so that it is nice and flat.
Once the base is prepared, you can start laying your pavers. Begin by placing them in the corners and along the edges of your paved area. Then, fill in the rest of the space with pavers until it is complete. Use a level to make sure that each paver is level with those around it; this will create a smooth surface overall.
If you want to add any special features or details to your paving job (such as borders or patterns), now is the time to do so. Be creative and have fun!
Finishing touches

Once all of your pavers are in place, it is time to add some finishing touches! First, use a jointing compound to fill in any gaps between pavers; this will help keep weeds from growing up through them later on down the road.. Second, sweep sand over the top of all of the pavers; this will help lock them into place and prevent them from shifting over time… Third (and optionally), sealer can be added for extra protection against stains and weathering damage – just be sure to let it dry completely before using your new pavement!
Conclusion
Making your own paving blocks is a great way to add a personal touch to your home. The process is relatively simple and only requires a few tools and materials. With a little planning, you can easily create a beautiful and unique patio or driveway.


